AirgapOS Setup
This section can be completed on any machine.
AirgapOS has keyfork built into it for cryptographic operations such as key
derivation.
-
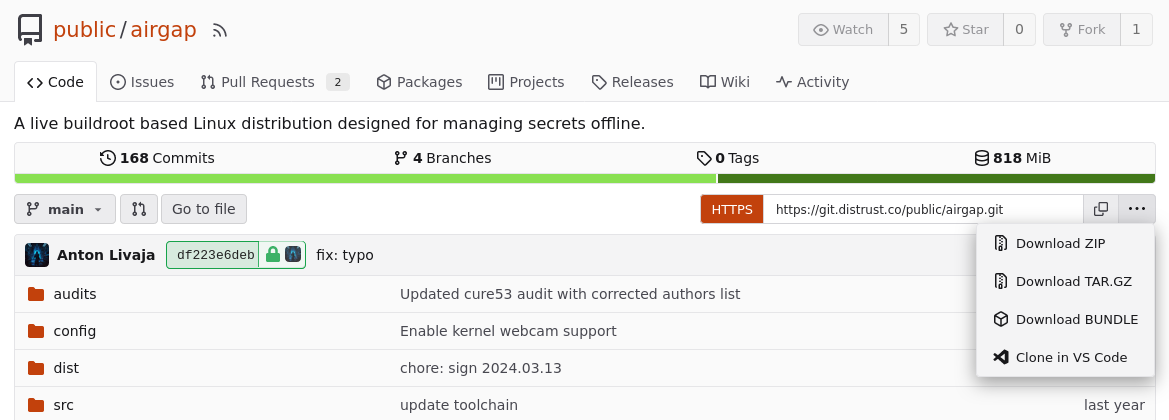
Clone the
AirgapOSrepository locally or download it as a zipTo clone use the following command in the terminal:
cd ~
git clone git@distrust.co:public/airgap.git
To download as a ZIP from https://git.distrust.co/public/airgap:
-
Navigate into the
airgaprepository locally, and build the iso image.cd ~/airgap make reproduce
The resulting iso will be located in airgap/out/
-
Place signed .iso on a storage device
a. Import the public key for the PureBoot Smart Card from Initialize PureBoot Smart Card guide.
gpg --import <ID>.ascb. Get the GPG key ID using the command:
gpg --list-keysIt should look something like
6B61ECD76088748C70590D55E90A401336C8AAA9c. Sign the
airgap.isoimage using the "PureBoot Smart Card", which is set up in Initalize PureBoot Smart Card guide.gpg --detach-sign --armor --default-key <ID> airgap.iso -
Copy
airgap.isoand detached signature to a storage device a. Select a new Storage Device which has no other files on it and plug it into the machine that has theairgap.isofile and the detached GPG signature.b. Find the name of the Storage Device using this guide
d. Use the
mountcommand to mount the drivee. Copy both the
airgap.isoand detached signature to the drive. -
Make sure to note the
sha256sumhash of theairgap.isoand write it down on a piece of paper. -
Multiple members of your team should build the
airgap.isoimage independently and usesha256sum airgap.isoin order to hash it, then record the value for later use. This value will be checked during Ceremonies before booting the ISO image to ensure it can be trusted.